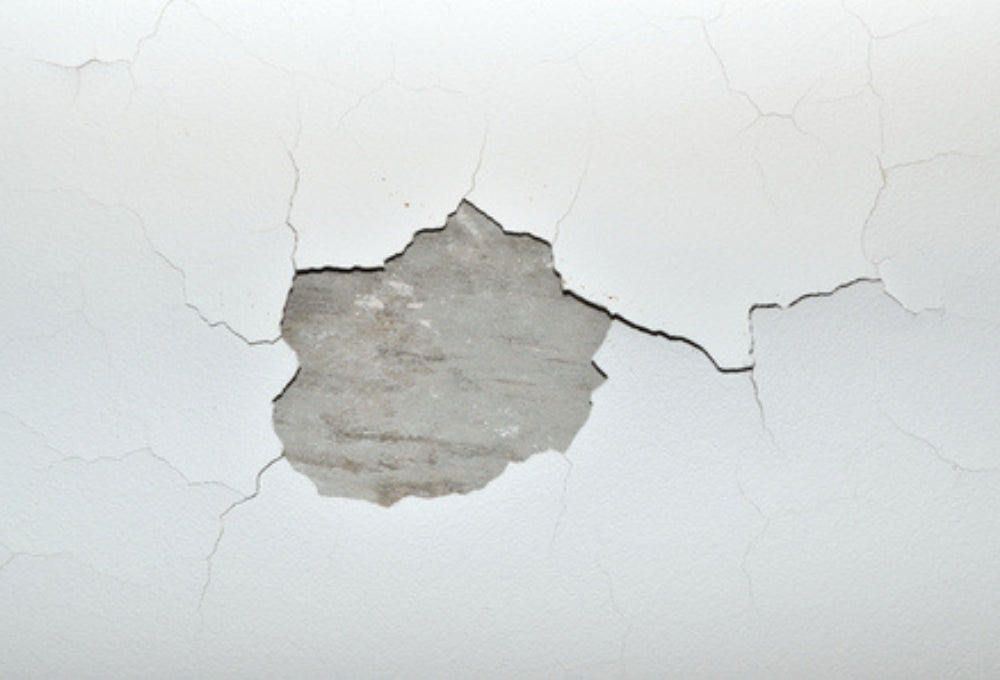

Painting over cracks and holes won't make them disappear—and may even make them more noticeable—so it is important to fix imperfections before you start painting. Here are some basic steps. If you haven’t done so, cover the furniture and floors with a drop cloth to protect against dust and debris.
Before you add filler to minor or hairline cracks:
- Use a utility or putty knife to widen the crack and remove any loose material.
- Create a trench that is deeper and slightly larger than the crack.
- For long cracks, remove the plaster or sheetrock material at intervals to help the filler hold.
- For small holes, use a utility or putty knife to dig out the hole and make the inside of the hole bigger than the outside. This is to provide space for the filler and to help prevent it from falling out of the hole or crack.
- Where sheetrock nails have popped up, countersink the nail pops with a hammer. The indentation left by the hammer head can be easily filled.
- Brush or vacuum to remove dust and debris, and wipe the area with a damp cloth.
- Use spackle or joint compound as filler, applied with a small, flexible putty knife for small areas, or a bigger one for large areas.
- For a smoother finish, spread thin layers of filler rather than one thick layer.
- Add as many layers as necessary, making sure that each layer is dry before adding another.
- After the layers of filler are completely dry, lightly sand as needed with fine-grade sandpaper to smooth and blend the repair with the wall surface.
- Wipe any dust from the wall with a clean cotton cloth before you start to prime or paint.
- Prime all repaired areas to help seal the filler and to help prevent the filler from absorbing paint.
For best results, ALWAYS READ THE PAINT CAN LABEL. Professionals read the paint can labels to get the paint manufacturers’ most up-to-date information and instructions on the use of each specific paint. Every paint is different, and the labels provide important information, such as the average coverage area per gallon, drying times, number of coats needed, and surface preparation requirements. The labels also give specific safety information that should be carefully adhered to.
Downloadable PDF: How to repair cracks and holes in your walls