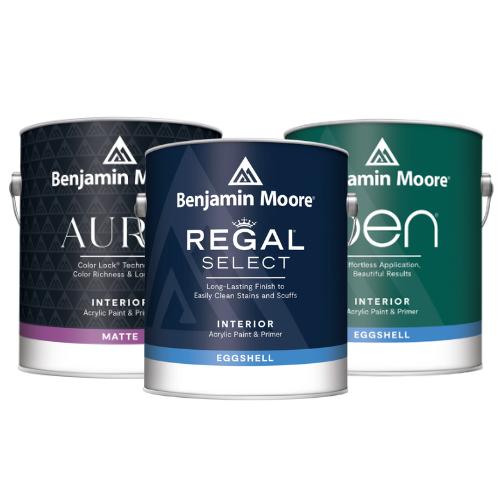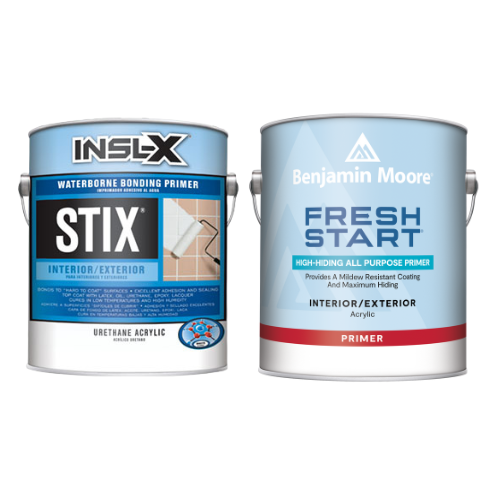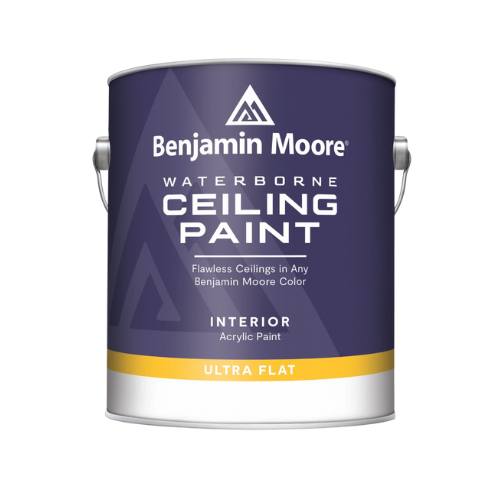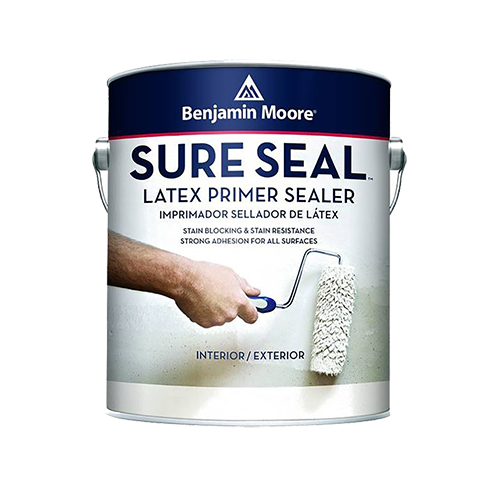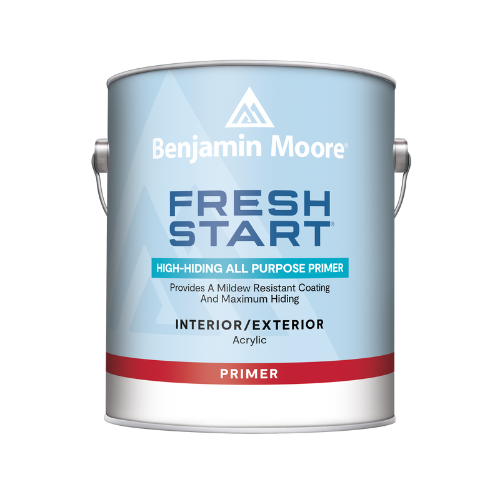

These tips will make painting a ceiling easier. You will need the following:
- Use a 2 ½ inch angle sash brush to paint the edges. It’s important to choose a good brush, such as Benjamin Moore's Soft Nylon Polyester Brush.
- Use a 9 inch roller with an extension handle for the rest of the ceiling.
- Don't press too hard on the roller when you paint the ceiling, since that may cause splatters and drips.
- After you reload the roller with paint, start painting from an unpainted area and work into the wet area.
- Roll slowly when you are near the wall to help avoid hitting the wall.
- You will also need a sturdy stepladder.
Step 1: Paint the edge of the ceiling where it meets the wall
- If you plan to paint the wall, you can overlap the paint onto the wall about half an inch or more. If you don't plan to paint the walls, use painter's tape to protect the wall or use the brush to cut in a straight line along the wall's edge.
- Brush paint onto the ceiling about 3 inches from the wall to make it easy to roll up to without getting paint on the walls.
Step 2: “Cut in” or carefully paint around the edges of lights and ceiling fans
- If possible, lower the cover of the light or ceiling fan to paint that area.
- Cover the blades of the ceiling fan with plastic, secured with tape, to protect against paint splatters.
Step 3: Paint the rest of the ceiling with a roller
- Use a roller pole that is comfortable and long enough to reach over the covered furniture in the center of the room.
- Paint with the roller from the corner of the ceiling nearest a window. The light from the window will reflect onto the wet paint on the ceiling, allowing you to see where you have painted. Then work your way across the room opposite the window.
- Paint the ceiling in one session, so the paint dries uniformly.
- Wait for the paint to completely dry before you start a second coat. (Read the paint can for recommended drying time.)
For best results, ALWAYS READ THE PAINT CAN LABEL. Professionals read the paint can labels to get the paint manufacturers’ most up-to-date information and instructions on the use of each specific paint. Every paint is different, and the labels provide important information, such as the average coverage area per gallon, drying times, number of coats needed, and surface preparation requirements. The labels also give specific safety information that should be carefully adhered to.
Downloadable PDF: How to paint ceilings


