Some people find that painting trim is a little difficult because it involves such small painting surfaces. To make your job easier, be sure to use several smaller good-quality brushes that hold paint well. Benjamin Moore's Angled Sash Paint Brush is specifically designed for painting trim.
To protect your floor and the edges of the walls and ceilings near the trim to be painted, cover the floor with a drop cloth and cover the edges of the walls and ceiling with painters’ tape.
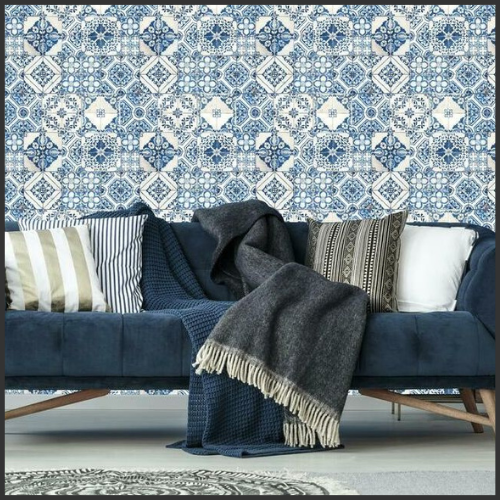
Well-painted trim can frame and accent a room, but trim is often exposed to more wear and tear, so it is important that scuff marks and cracks are taken care of before you start painting.
To prepare trim for painting, follow these steps:
- Wash off dirt with warm water and soap.
- Use sandpaper to smooth shallow dents and scratches.
- For bigger cracks and gouges, you may have to add wood filler. Use a filling or putty knife to push the filler into the cracks. When the filler is dry, lightly sand the surface to smooth it.
- If necessary, add caulk to fill any gaps or spaces in the trim.
- If your trim was previously painted a glossy sheen, it’s important to dull the surface by lightly sanding it to help the new paint adhere when you repaint it.
- Use a damp cloth to clean the surface when you're finished repairing the trim.
- If your trim required a lot of repair and patching, apply primer. Wait for it to dry completely before painting.
TIP: Dip approximately one-third of the brush into the paint, remove any excess paint, and start painting the trim in slow, smooth strokes starting near a corner or working your way from the ceiling to the floor. If you press the brush lightly and work slowly, you can apply the paint evenly and achieve a professional quality finish.
For best results, ALWAYS READ THE PAINT CAN LABEL. Professionals read the paint can labels to get the paint manufacturers’ most up-to-date information and instructions on the use of each specific paint. Every paint is different, and the labels provide important information, such as the average coverage area per gallon, drying times, number of coats needed, and surface preparation requirements. The labels also give specific safety information that should be carefully adhered to.
Downloadable PDF: How to paint trim